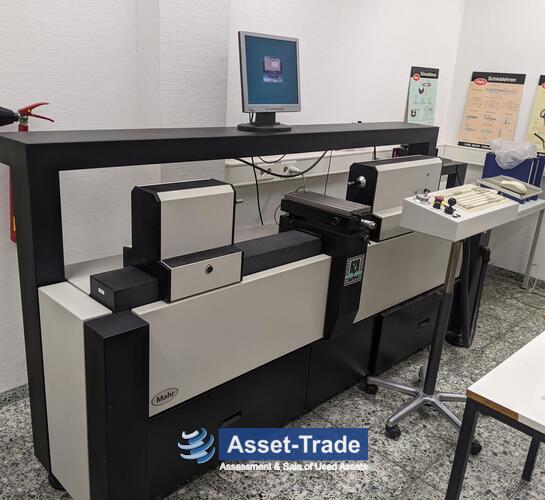
This great MAHR 828 CIM -1000 Precision Universal Length Measuring Machine is unfortunately already Sold.
Discover further Metalworking » Measuring / Testing Machines » Coordinate Measuring Machines machinery, or Contact us for further help.
Machine Details:
Technical Details:
-
Control:
Description:
This great MAHR 828 CIM -1000 Precision Universal Length Measuring Machine is unfortunately already Sold.
Discover further Metalworking » Measuring / Testing Machines » Coordinate Measuring Machines machinery, or Contact us for further help.
Used MAHR 828 CiM 1000 Ultra High Precision Motorized Length Universal Measuring Machine Precimar
Build 1997
Last check : 02.2015
Software Version: 3.06-4
Technical Data:
- Measuring ranges (switchable mm/inch):
- Measuring range for outer measurement: 0 to 1000 mm
- Measuring range for inner measurement: 0.5 to 845 mm
- Performance data:
- Measuring range (incremental) : 300 mm
- Increment: 0.01 µm
- Measuring uncertainty MPEE1 (L in mm) : ≤ (0,055 + L/1500) µm
- Repeatability: ≤ 0,03 µm
- Measuring forces (internal/external measurement) : 0 to 13.9 N elec. monitoring
- Guides
- Drive (measuring slide) aerostatic motorized
- Max. travel speed: 50 mm/s
- Max. contact speed with joystick: 8 mm/s
- Max. contact speed with direction buttons: 3.5 mm/s
- Contact speed with inductive measuring probe 1320/1 : 0.6 mm/s
- Object table:
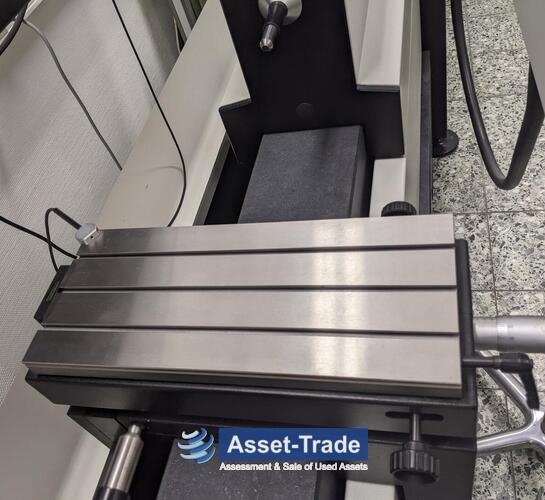
- Table surface: (length x width): 150 X 350 mm
- Table load capacity: 250N
- Vertical movement of Z-drive: 70 mm motorized
- Increment Z: 0.01 mm
- Transverse movement Y: 25 mm
- Floating movement X: ± 10 mm
- Tilting movement Y : 3 degrees
- Swivel movement Z : 8 degrees
- Probe height (above lowest table position): 70 mm
Mahr 828 CIM 1000 has the highest measuring accuracy:
- Unique low length measuring uncertainty for precision products and gage calibration management
- 100% adherence to the comparator principle according to Ernst Abbe
- Online temperature monitoring
- Software-supported mesuring force generation, especially advanatageous for thin-walled workpieces and gage calibration devices
- Semi-automatic bore measurement and inside measurement
- High flexibility in the application range
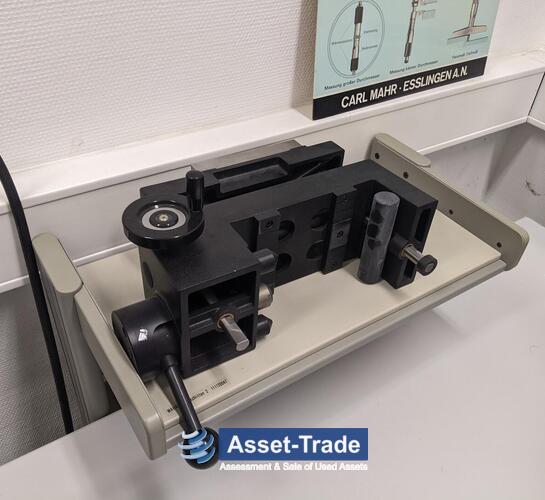
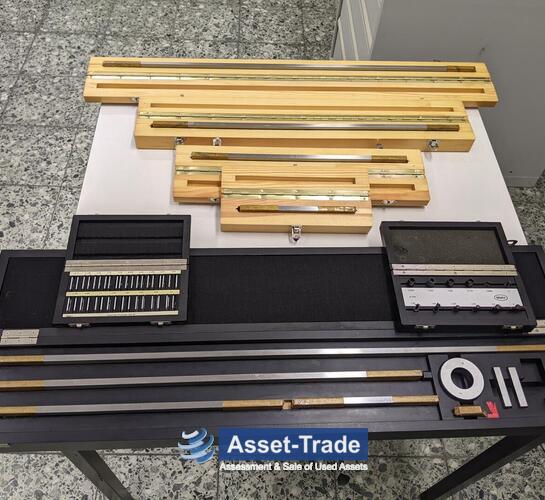
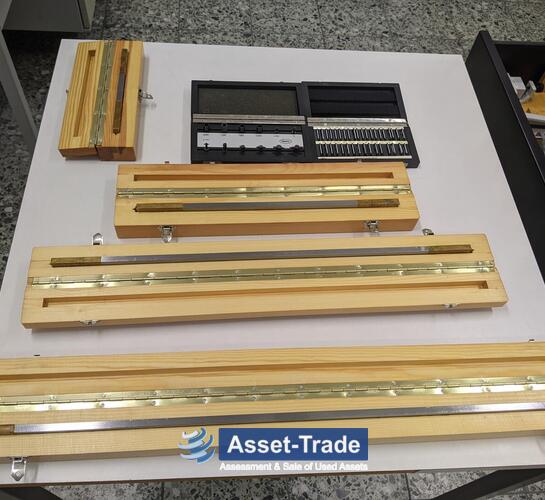
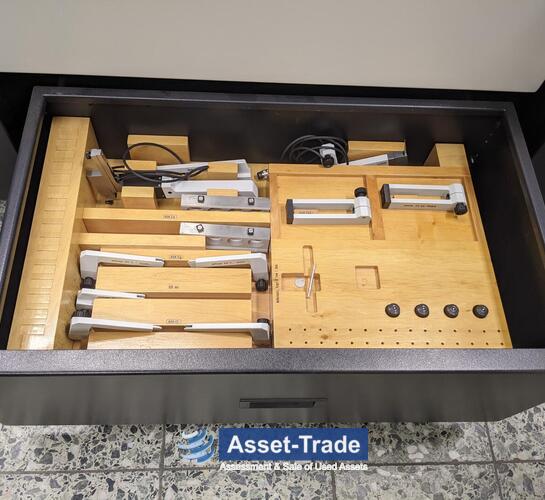
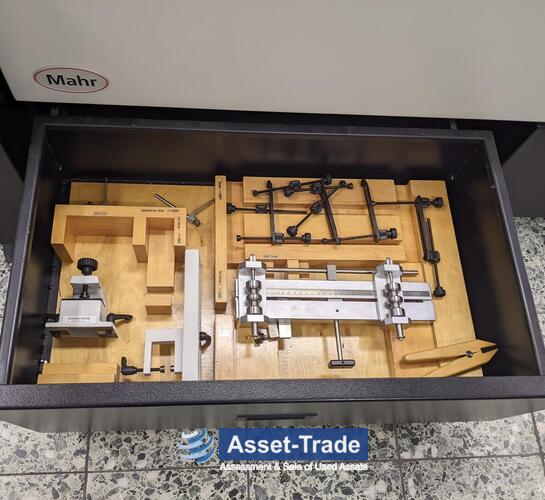
- Numerous accessory sets and components in a modular system to solve different measuring tasks, incl. thread pitch, thread, tapered thread, toothing
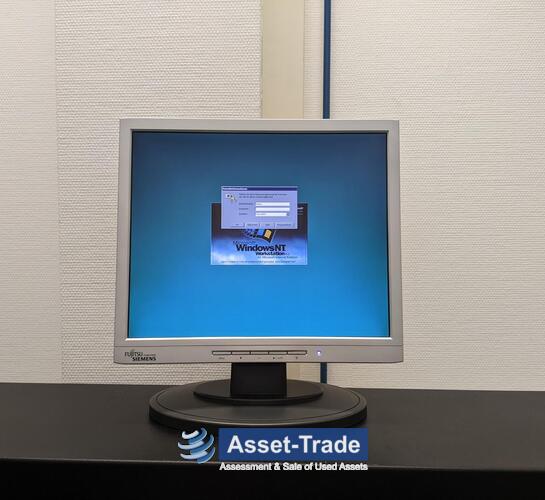
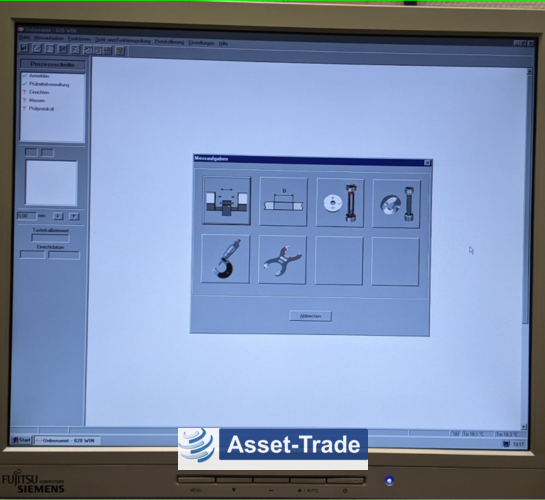
- Measuring and evaluation software under MS-Windows, 828 WIN
- Patented measuring procedure
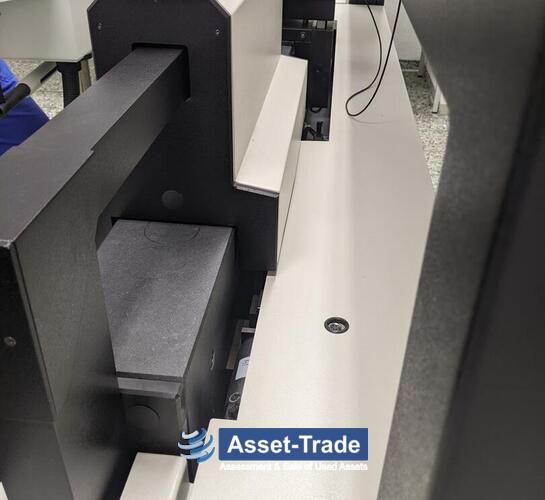
- Minimum measuring uncertainty due to the use of aerostatic guides for all slides supported by the machine bed, the mobile bearing of the measuring spindle over a spring parallelogram which is free of both play and friction, electronic regulation of measuring forces and automatic contacting. Subjective influences are therefore minimized and unintentional collisions with the tespiece prevented
The motorized CIM series enables a user-friendly, fast and reliable measurement of
testing devices and precision products with the smallest measuring uncertainty possible.
Length measuring deviation:
MPEE1 = (0.055 + L/1500) μm (L in mm)
Its unusually high measuring precision, the high measuring speed, novel measuring procedure and its operating comfort assure the 828 CiM its top position amongst the universal measuring machines
Mahr 828 CiM Length Measuring Machine Features:
- Superb performance data, measuring runs of unique perfection and high-quality computer technology allow quality management that far exceeds the EN 29 000... and ISO 9000 guidelines. The motorized CiM 500 and 1000 allow user-friendly, fast, reliable measurement with uniquely low measuring uncertainty.
- Operation is simplified through position-controlled driving of the measuring slide (by joystick) with progressive deflection characteristic, automatic contact detection, automatic recognition of outside and inside measurements, and computer-aided detection of reversing points.
- Immense savings in time through high measuring slide travel speeds and motor-driven vertical movement of the support table.
- Almost unlimited application flexibility due to the software supported possibility to measure the testing devices which are most often used in practice.
- Machine control, data recording, processing, logging and transfer using powerful, menu-driven software.
- Minimum measuring uncertainty due to the use of bearings for all slides supported by the machine bed; the support of the measuring spindle over a spring parallelogram which is free of both play and friction; electronic regulation of measuring forces and automatic contacting. These factors allow subjective influences to be minimized and unintentional collisions with the testpiece prevented.
- Highest measuring certainty due to single-level measuring value generation, exact compliance to the Abbé comparator pinciple, high-grade incremental path control system. Correction of systematic deviations and reduction of random deviations all result in a measuring uncertainty MPE of (0.055 + L/1500) μm (L in mm). (At 20.0 °C in inspection room, class 1 VDI/VDE 2627).
- Measuring force can be easily set and compensation of thermally induced dimensional deviations switched on and off by a software click.

